Glass Nails Tutorial
Author: Brandi Mason / Olive_Nail_Polish

Intro
Last October a TikTok video that sparked an obsession in the nail community.
It’s a fairly simple video. A woman is applying nail polish. The first coat is jet black. She then applies a silver cat-eye polish and uses a magnet to push the magnetic pigment around in the “velvet” style. She then follows with a coat of red jelly polish.
In this video, the effect is achieved with gel as many of the most tantalizing magnetic nail effects often are. One of the first things you learn when you get into magnetic nail polish is that it's really no match for cat-eye gel, because gel polishes cure instead of drying, allowing for a stronger and more defined magnetic effect. Me and half of nail-Reddit were in a tizzy. How could we recreate this with regular nail polish?
Then I saw a post on Reddit from a person who had recreated it successfully and they recommended 3 polishes and I've never hit "add to cart" faster in my life:
- A super opaque black polish
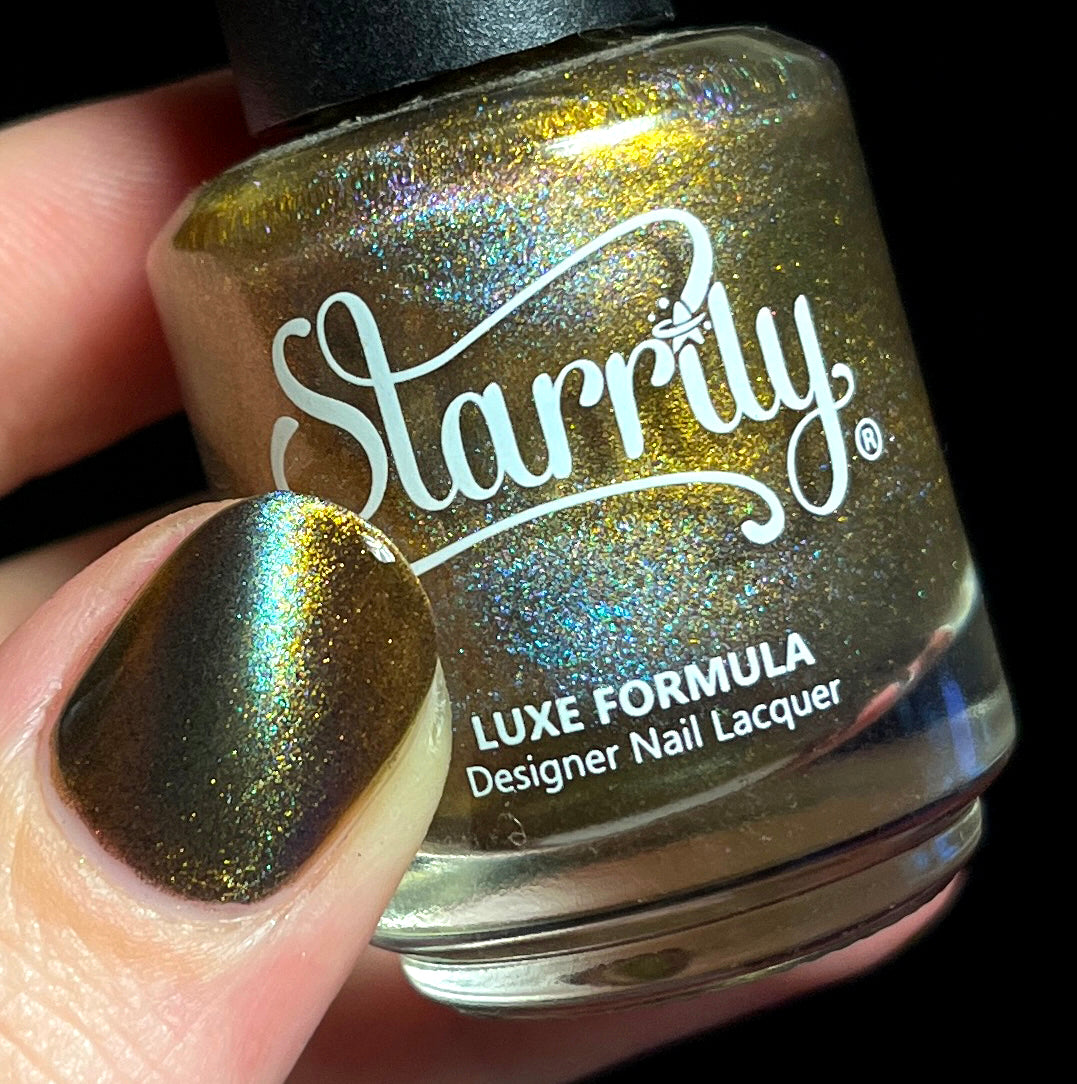
- Starrily Amulet (Silver magnetic polish)
- Starrily Flame Jelly (Red jelly polish)
I also procured a 30 lb horseshoe magnet as research suggested that was the easiest and best way to get a good velvet magnetic effect.
My 3 polishes arrived (I already had a one coat black polish, but I suffer from sometimes debilitating indecision so I had to buy both Flame Jelly and Bloodbelly Jelly). I did the manicure before a trip to New Orleans and it turned out beautiful. I didn’t have my Instagram then and I somehow didn’t take any pictures or videos but I got so many compliments.
Months later, I had an idea for a rainbow version of the red glass nail manicure. Starrily has a whole collection of eight jellies, so I doubled back and bought Immortal (black) Jelly, Crown (royal purple) Jelly, Bluefire (blue) Jelly, and Crystal (green) Jelly.
I was so excited to make this manicure happen and here’s how I did it.
Supplies Needed:
- Preferred base coat or Starrily Guardian
- Preferred super opaque black nail polish or Starrily Vantablack®
- Starrily Amulet
- Starrily Jellies
- Preferred quick dry top coat
- 30 lb horseshoe magnet
Step 1
I do my regular nail prep and apply a basecoat. For me this is always a ridge-filling (or smoothing) base coat. I have ridged nails and glass is smooth so it’s important to get an even canvas.
Step 2
Apply a single coat of a super opaque black nail polish.
Step 3 (This where things get serious)
I apply my first coat of Starrily Amulet while my finger is in the dip of the magnet. No need to wait for it to dry with the first coat, I just move on to the next finger. On my second coat of Amulet, I leave my finger in the magnet for 60 seconds. I also use this minute to clean up the polish from my cuticles, if necessary. Be patient.

Step 4
I apply a singular coat of jelly polish, while still keeping my fingernail in the dip of the magnet.
Again, I leave my finger in the magnet for 60 seconds after the jelly coat.
I used Immortal Jelly on my thumb, Bloodbelly on my index finger, Crown on my middle finger, Bluefire on my ring finger, and Crystal on my pinky finger.

Note: When it comes to magnetics every new coat of polish re-wets the magnetic particles which will cause dispersion of the magnetic pigment.
Magnetic polishes will always experience some dispersion after several hours, but the longer you can leave your finger in the magnet while the polish dries, the better. I find Starrily Amulet to be wonderfully responsive, and when done correctly, dispersion is minimal.
Step 5
I apply a quick dry topcoat to each nail while my finger is in the dip of the magnet. I leave my finger in the magnet for at least 60 seconds after each coat.


And then I’m done! At the end I have a full hand of multicolored glass nails.


Leave a comment
This site is protected by hCaptcha and the hCaptcha Privacy Policy and Terms of Service apply.