Intro
Magnetic nail polish offers a fun and unique way to manipulate the way a polish shifts and shimmers on our nails. The versatility they offer is only one of many reasons why these polishes attract and captivate so many people.
As a nail polish swatcher, I have had the unique opportunity to work with a variety of magnetic polishes that have helped me create this helpful guide on how to use magnetic nail polish.
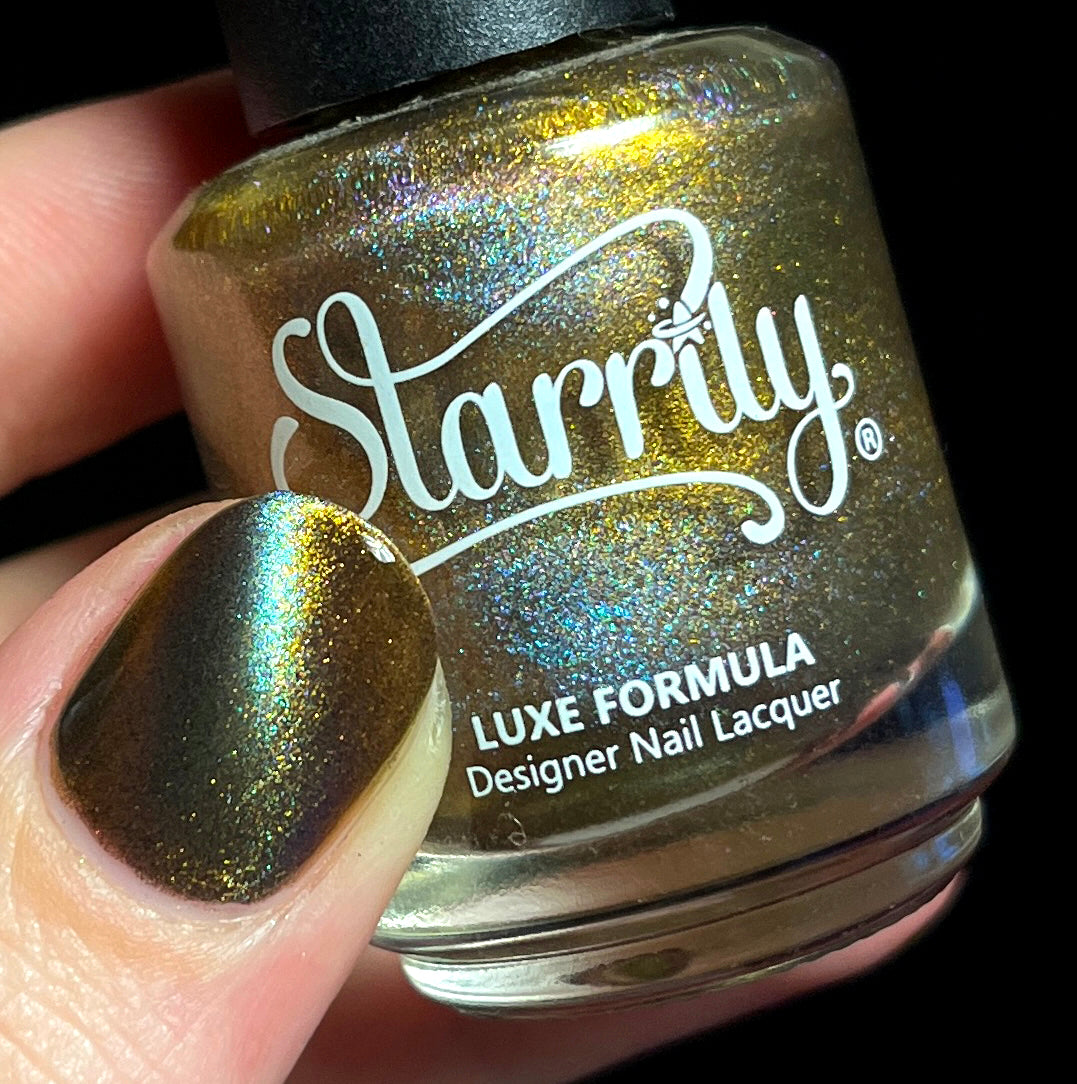
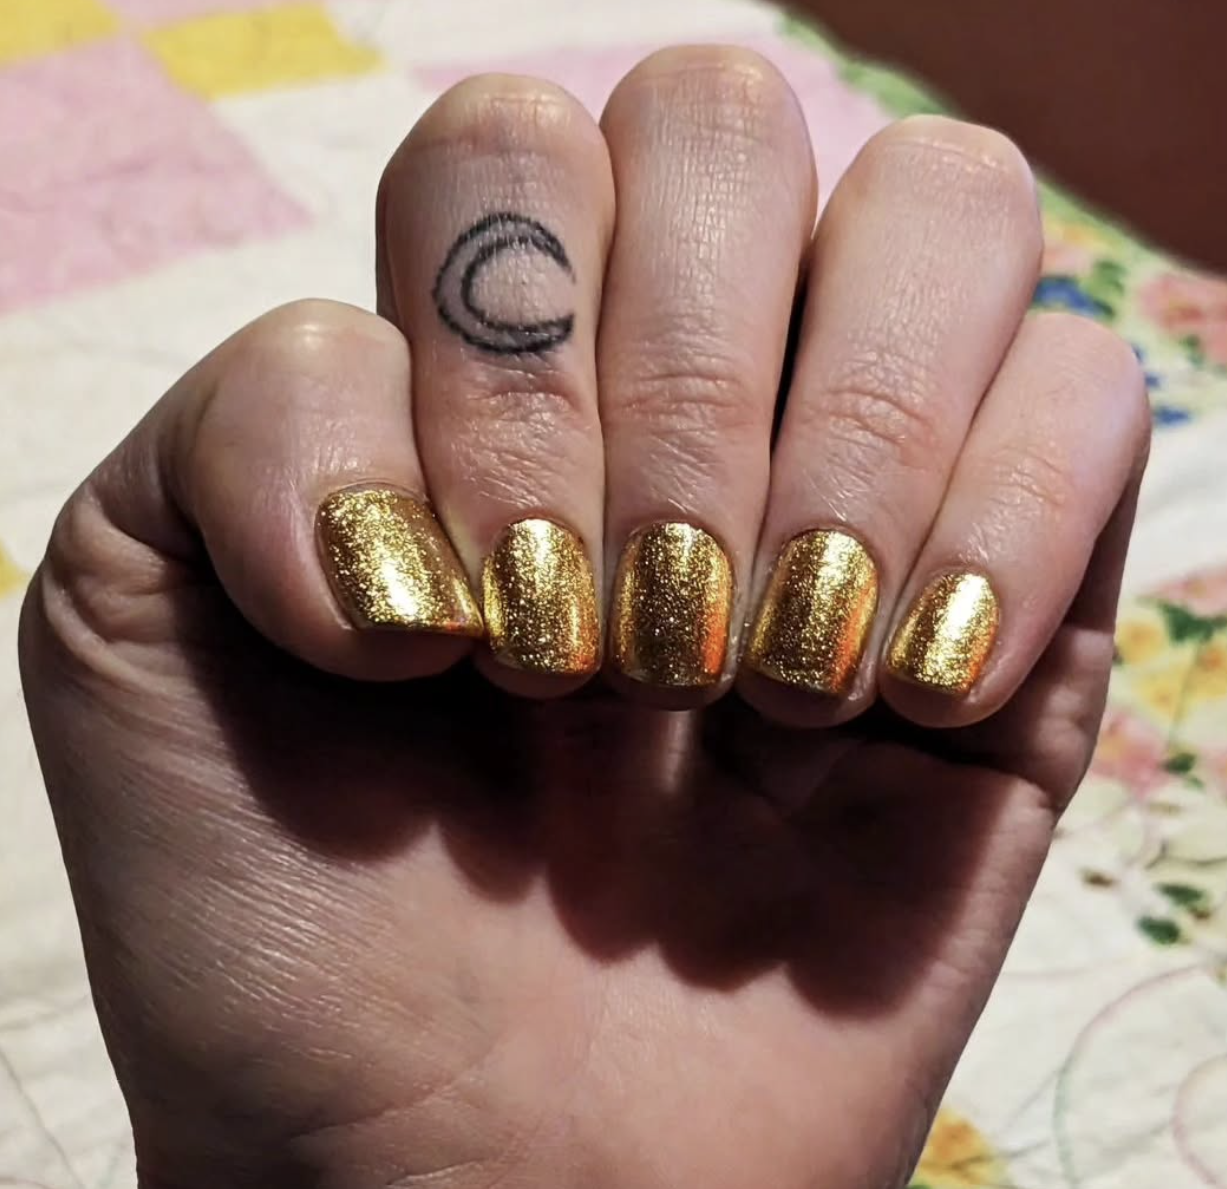
There are many unique ways to use a magnetic polish, but most are familiar with either the “Cat Eye” style or the “Aura/Velvet” style, and there are many ways to achieve these looks. Let’s explore some of them together using Starrily's magnetic nail polish, Silent Night Sky.
Cat Eye Magnetization
This is when you see a visible “line” wherein the magnetic pigment has been pulled to, which mimics a cats eye or a “tigers eye” gemstone. There are a few different ways to execute this look using Starrily's magnetic wand.
Cat Eye Method #1
The first and easiest way is by resting the finger directly on top of a magnet wand (positioned in the direction you want the magnetic line to appear) while applying coats of polish and a clear top coat. (As shown below)

Cat Eye Method #2
The second method is achieved by carefully hovering the magnetic wand steadily above the freshly painted wet nail in a desired fixed location until it dries. (As shown in the video below)


Aura / Velvet Magnetization
This is when the polish takes on a 3 dimensional look that shifts drastically and appears as an aura or velvet-like. Depending on how you hold the magnet, you can achieve several different variations and depths to this look. I’m going to show you two methods using Starrily's Magnetic Wand.
The easier of the two methods is to simply place the magnet wand (face up) directly next to the finger nail you are painting. This will direct the magnetic pigment to one side of the nail and create a shifting flipping velvety look as you move your fingers. Alternating sides the magnet is on while curing can offer even better Aura results if you don’t mind the extra effort, as this can take a little getting used to, depending on how fast the polish dries. (As shown in the video below)


The second method is to hover the magnetic wand on either side of the nail (about a half inch away from the finger) and alternate sides as it cures. This is a more advanced method, that can take some practice to master, but you will see more drastic results this way. (As shown in the video below)


Time Management
If you are looking for a quicker way to apply a magnetic polish, you can opt to only magnetize the last coat of polish as well as the top coat.

If you are looking for a deeper magnetic effect, it’s recommended to magnetize each layer of polish. Both methods will give you a beautiful desired result, however I personally find the magnetic shift to be more alluring when each layer is magnetized. Setting a timer or simply being mindful of the clock while you apply a magnetic polish can also help with timing to ensure you’re allowing enough time for the magnetic effect to cure in place.
Another way to save time is to paint the magnetic nail polish over a black base. To do this, first paint your nails with a black nail polish like Vantablack. After the black layer is fully dry, paint one layer of magnetic nail polish over the black layer. Use the magnetic wand to create your preferred look. Once dry, finish with a clear top coat and magnetize again.
Other darker colors can also be used instead of black, sometimes they may even create a completely unique and unexpected look!
Tips & Tricks
I've learned several tips & tricks over the years and I hope some of these will help you!
- Always magnetize after the final clear top coat is applied.
- For best results, it’s important to keep the magnet in place or in motion depending on the method of magnetization for at least 30 sec to 1 min per magnetized coat and 1 to 2 min on the final layer of polish to allow the magnetic effect to cure in place.
- It’s normal for the magnetic pigment to spread out slightly over time as the polish fully cures. Usually this is barely noticeable— especially with Starrily magnetic polishes, but worth noting.
- Many magnetic polishes are also gorgeous unmagnetized, try doing an accent nail unmagnetized for a slightly different vibe.
- Multiple magnets can be used at the same time to speed up the application process. You can also experiment with multiple magnets to achieve more interesting results, just be aware how multiple magnets will interact with one another if they get too close together.
Try experimenting with different kinds of magnets with these polishes, the possibilities are seemingly endless!
List of products shown or mentioned in this article:
- Northern Lights Simulator, magnetic color shifting nail polish
- Silent Night Sky, magnetic color shifting nail polish
- Magnetic Wand, high quality magnet, essential to using magnetic nail polish
- Antimatter, multipurpose and high quality clear top coat.
- Vantablack, true one coat black nail polish.


Leave a comment
This site is protected by hCaptcha and the hCaptcha Privacy Policy and Terms of Service apply.