
Intro
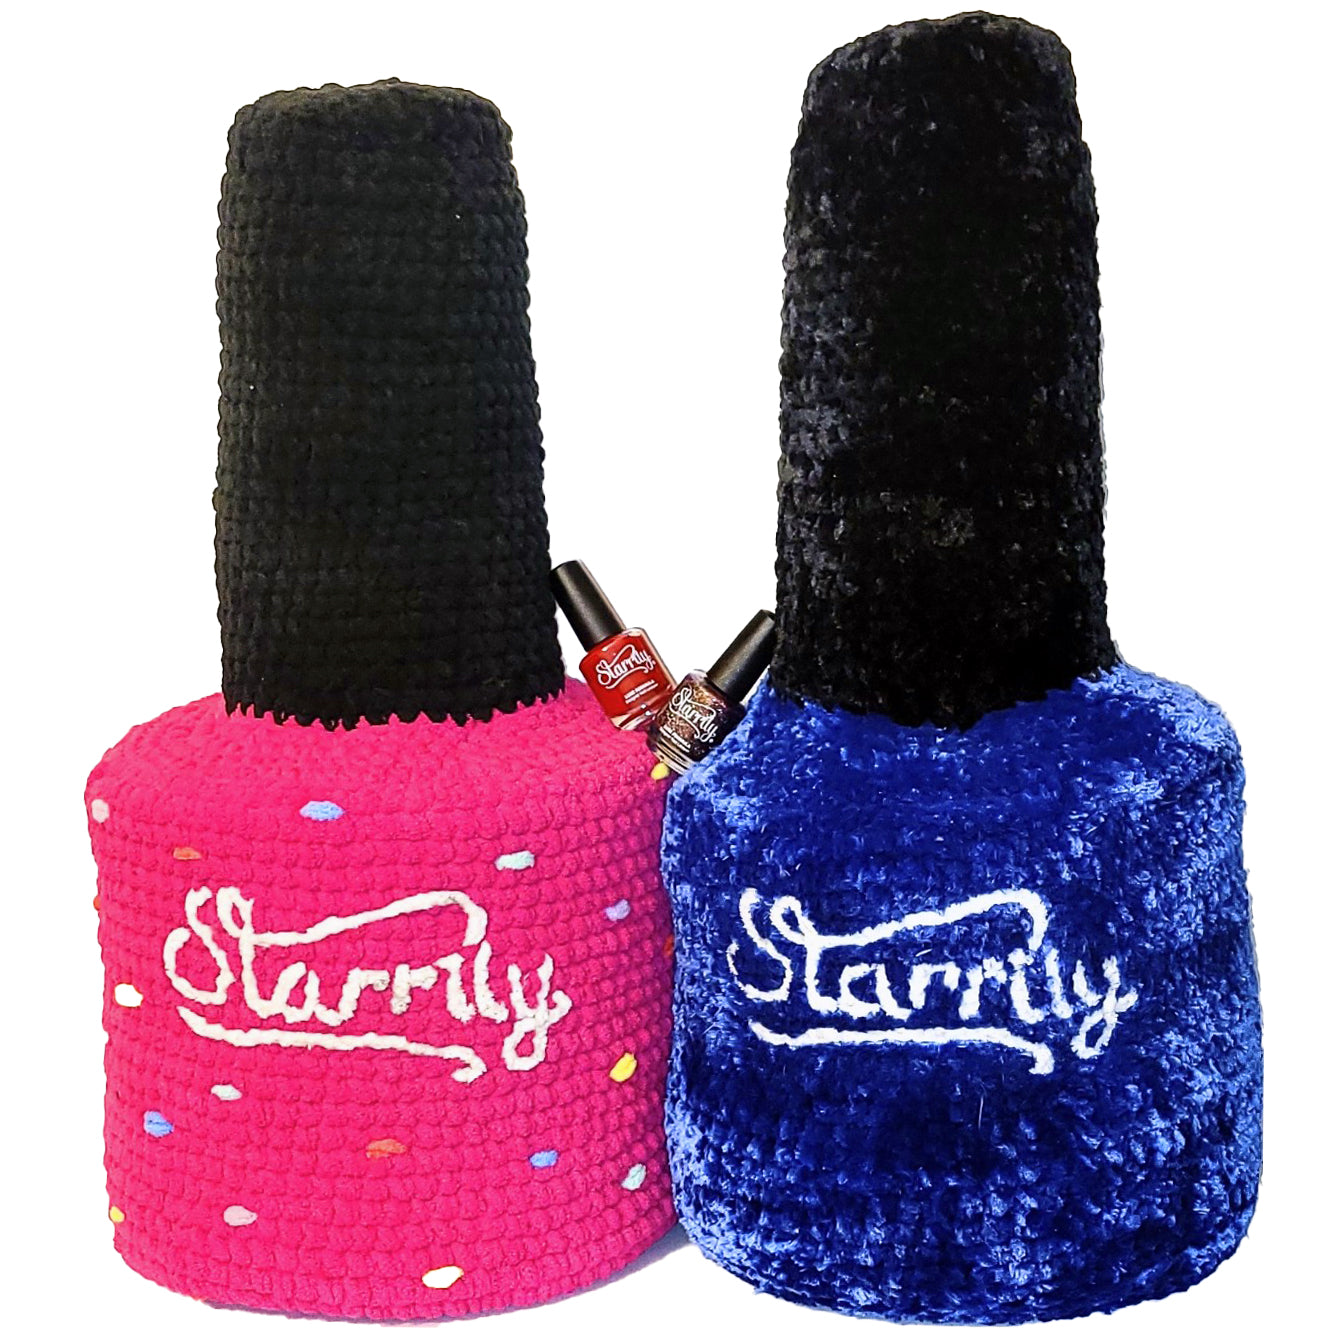
Hi! I’m nailing_crochet and I created this pattern for Starrily to recreate their nail polish bottles but in a XXL format😁
I hope you enjoy!
Notes: This pattern is in US terminology.
Do not duplicate, distribute, or claim this pattern as your own. All rights reserved.
*This pattern has not been tested.
Materials:
- Yarn: Size 6 super bulky (I used Bernat Blanket) and size 5 bulky (I used Bernat Velvet)
- Colors: Neon pink, light pink, orange, yellow, light and dark blue, purple, black and white
- Crochet hook (I used 6.5mm and 4mm)
- Yarn needle
- Scissors
- Toy stuffing
- Stitch marker
- Thick plastic (I used a dollar store cutting board)

Abbreviations:
- R: round
- Sc: single crochet
- Mr: magic ring
- X_: times to repeat
- Inc: increase
- Dec: decrease
Pattern:
Pattern Circles
I inserted plastic circles into my nail polish bottle pillow to make the edges more defined. If you want your pillow to stay squishy, skip this step.
Measure the diameter of the bottom of your bottle and cut 2 circles to size. Measure the top of the cap and cut a circle to size.
Bottle Pattern
- Create a magic ring.
- R1 : 10sc in mr
R2 : 10inc (20)
R3 : (1sc, 1inc)x10 (30)
R4 : (2sc, 1 inc)x10(40)
R5 : (1 inc, 3sc)x10 repeat (50)
R6 : 2sc, (1 inc, 4sc)x9, inc, 2sc (60)
R7 : (inc, 5sc)x10 (70)
R8 : 3sc, (inc, 6sc)x9, inc, 3sc (80)
R9-31 : sc all around (23 rows) (80) (feel free to add or remove as many rows as you prefer) - Add the 1st big plastic circle to the bottom of the nail polish bottle.
- Begin stuffing.
- R32 : sc in back loop of every stitch (80)


Logo Embroidery
Embroider lettering. I used sticky water soluble embroidery stabilizer paper to print the Starrily logo. Then I used white Bernat velvet yarn and a yarn needle to embroider the letters. I did a chain stitch.


Finish by rinsing the piece to remove the embroidery paper. Let dry with towels inside so the bottle keeps its shape.

Glitter Embroidery
Embroider little accents of colors to create "glitter". Place them evenly around the whole bottle. Alternate colors. Continue with the pattern.
- R33 : 3sc, (dec, 6sc)x9, 3sc (70)
R34 : (dec, 5sc)x10 (60)
R35 : 2sc, (dec, 4sc)x9, 2sc (50)
R36 : (dec, 3sc)x10 (40)
R37 : sc in back loop of every stitch (40) - Add a 2nd big plastic circle to where the black and pink meet.

Cap Pattern
- Change to black.
- Continue stuffing as you go.
- R38-60 : Sc all around until reach desired height (23 rows) (40)
R61 : (2sc, dec)x10 (30)
R62-64 : Sc all around (3 rows) (30)
R65 : In back loop only, (1sc, dec) x10 (20) - Finish stuffing.
- Add the small plastic circle.
- R66 : dec in every stitch (10)
- Fasten off and finish stuffing. Sew closed and weave in the ends.


There you go! I hope you enjoyed creating this gigantic nail polish bottle pillow😁
Tag @starrilynails , @nailing_crochet , #starrily , #starrilynails on Instagram if you decide to make one!
Also feel free to send me (@nailing_crochet) a message if you have any questions :)



Leave a comment
This site is protected by hCaptcha and the hCaptcha Privacy Policy and Terms of Service apply.