Intro
Hello! My name is Anne Thompson and I've been doing my nails and taking swatch photos for nearly 15 years now!
It's still a huge passion of mine after all these years. It was super important to me that my photos were crisp, beautiful to look at and showcased the polish well.
It took me a while to get to a place where I was happy with the final result so I'm excited to share some of my tips and tricks with you!
Whether you're looking to start a nail blog, add photos to your social media (Instagram, Facebook, Pinterest pages), build up your hand model portfolio, or if you're just taking pics for fun, these tips and tricks will help you easily level up your nail photography game!

Cuticle Care
Dry or unkempt cuticles can detract from the overall beauty of your nail polish and make your photos appear less polished (pun intended!)
I love to apply a cuticle oil once my nails are dry and I'm ready to start taking photos.
Camera
When it comes to taking photos, I switch back and forth between my Canon EOS Rebel T7i and my iPhone 15.
An expensive camera is great at times but I also love the ease of using my phone.
I tend to use my Canon camera for indoor photos with my lightbox and then my phone for photos in natural light.
For my Canon camera, I have a 50mm lens and I shoot in Manual Mode. The 50mm lens is perfect for taking photos close up which is just what I need to capture the details of polishes. It also blurs the background for me.

Lighting
Lighting is so important when it comes to taking nail photos. Whether you’re shooting indoors or outdoors, understanding how to work with light is key to capturing stunning nail photos.
I have a lightbox that I made by simply nailing 3 small canvases together!
To light my setup, I use two LED lamps fitted with Daylight bulbs. Using Daylight bulbs helps my photos look more like I had actually shot outside in natural light. One of the biggest challenges in nail photography is avoiding overly warm or cool tones, and Daylight bulbs help keep your photos balanced and natural-looking.
I also set my camera's white balance settings to "White Fluorescent Light" when using my lightbox.
On a sunny day, I will go outside on our patio or stand by a window indoors to take photos with my iPhone.

Reducing Blur
One of the easiest ways to avoid blurry photos is to make sure your hands are steady while taking the picture. I make sure that both of my elbows are supported on my table so that I'm as still as possible to get a crisp picture.
When I take a photo using my iPhone camera, I make sure to tap the screen so it focuses on my nails and not any of the background.
Posing
For hand poses, I have two go-to poses that I love.
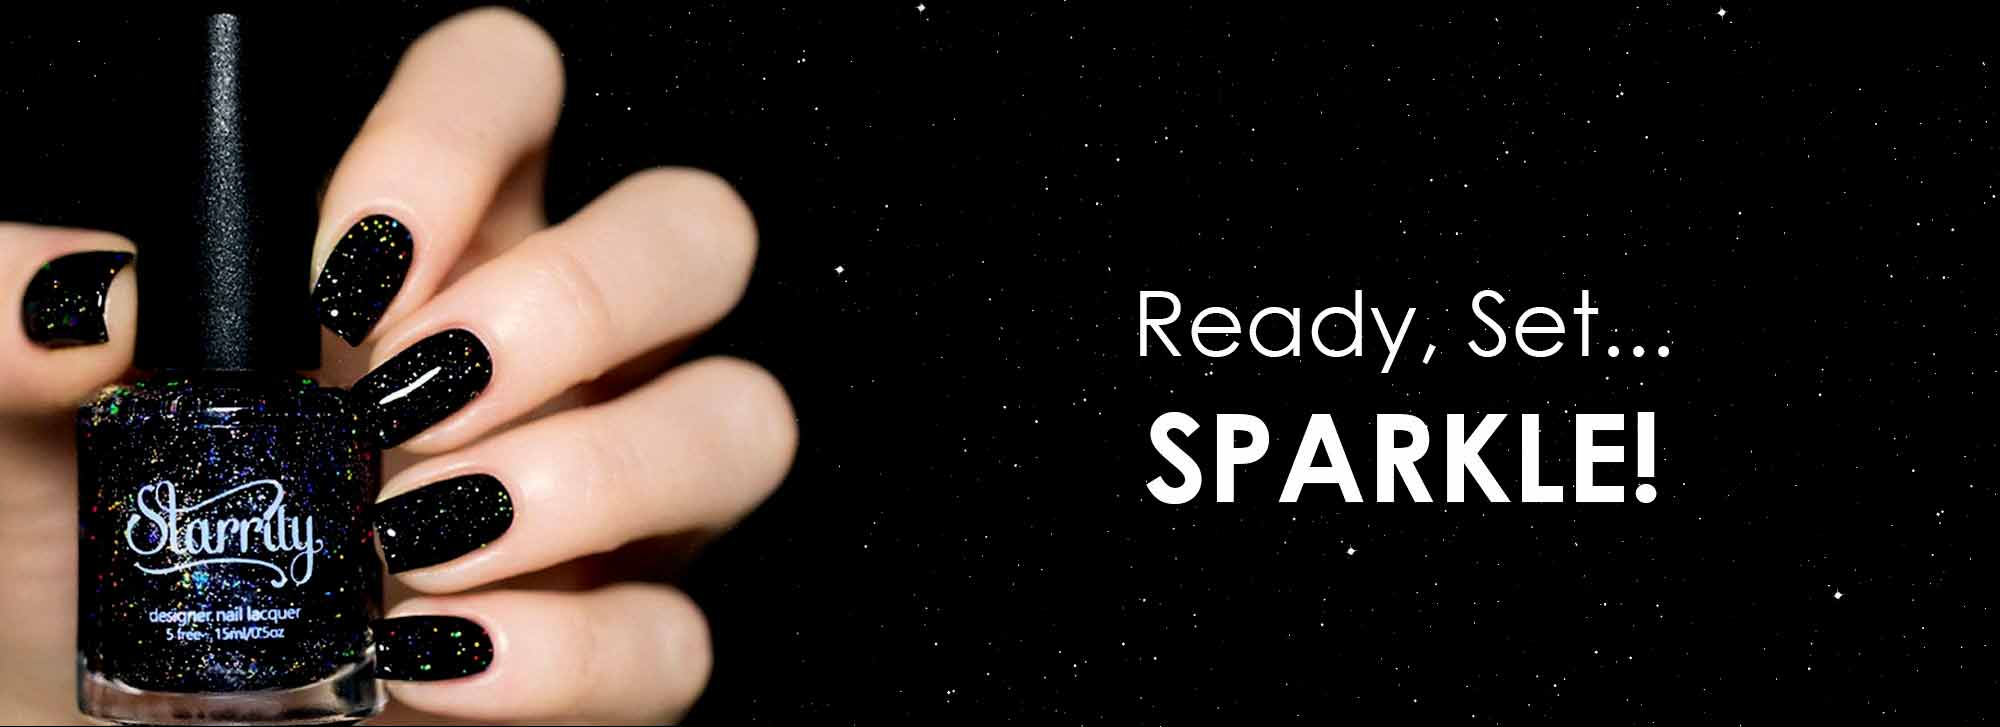
The first includes holding the bottle of polish and photographing just 4 fingers. I love to include the bottle of polish as it makes it easy for everyone to know the brand right away.

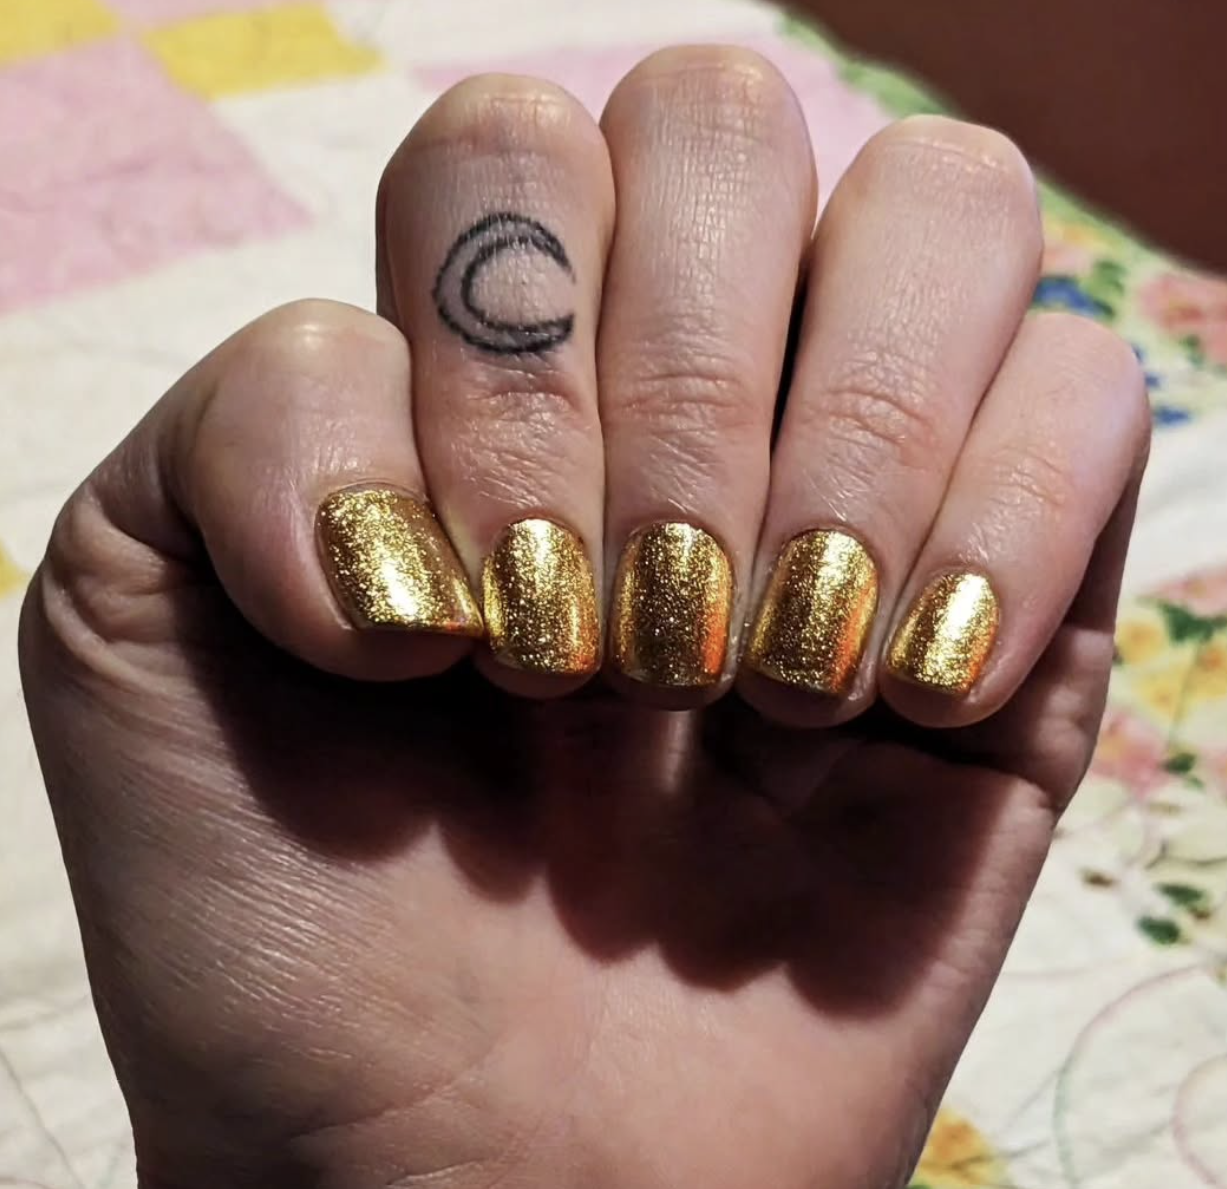
The second pose is without the bottle and includes my thumb.
I always do this pose when I have Skittle Nails to showcase all 5 colors of polish.
I try to relax my fingers so it looks effortless and not forced.

Play around with hand poses to see what feels the most natural and comfortable for you!
The only one I would stay away from is the claw pose as this can make the photos look stiff.
Editing Photos
I usually need to adjust the light and temperature of my photos so I edit it using Adobe Lightroom or just in the iPhone Photos App.
I always crop my photo first and then I will start adjusting by turning the exposure down a little, increasing the brilliance and a slight increase for highlights.
I sometimes will turn the contrast down just a smidge and I always turn the brightness up. If the photo needs it, I will turn the warmth up or down a little.
You can also fix any blemishes on your photos with a free app! I simply use the Smoothing tool to hide any imperfections around my cuticles. It's very easy to make your photos (and cuticles!) look flawless!

I hope this 'behind the scenes' look has helped you with your nailfies!
Do you have any favorite tips or tricks for taking nail photos? We'd love to hear about them! Keep snapping those shots, and don’t forget to share your polished masterpieces with the world!
The nail polish shown in these photos is Alternate Universe.





2 comments
Leave a comment
This site is protected by hCaptcha and the hCaptcha Privacy Policy and Terms of Service apply.